.png)
Improve your customer support desk with AI from Labelf
Artificial Intelligence (AI) is a powerful tool to increase efficiency and reduce time spent on menial tasks. At Labelf we allow companies to quickly implement AI solutions in their organisations. This allows you to reap the benefits of AI process improvements without being bogged down in technical implementation projects.
In this post we will look at how to use an AI Model from Labelf to improve a customer support function. We will be using the Labelf platform to build and deploy custom AI models in order to Identify sales leads in incoming tickets.

The AI Model
We want the model to identify if an incoming ticket indicates that the person writing is interested in making a purchase.
Examples of Sales lead tickets
- Product question, for example the sizing or technical specifications of a product
- Shipping questions (before a purchase)
- Questions about discounts or promotions
Examples of non Sales lead tickets
- Warranty and refund questions
- Shipping questions (after purchase)
- Billing questions (after purchase)
Step 1 - Install Labelf app in the Zendesk Marketplace
The AI Ticket Tagger app made by Labelf can be found here. Follow the installation instructions and process to authorize the Labelf app.

Step 2 - Load tickets as dataset
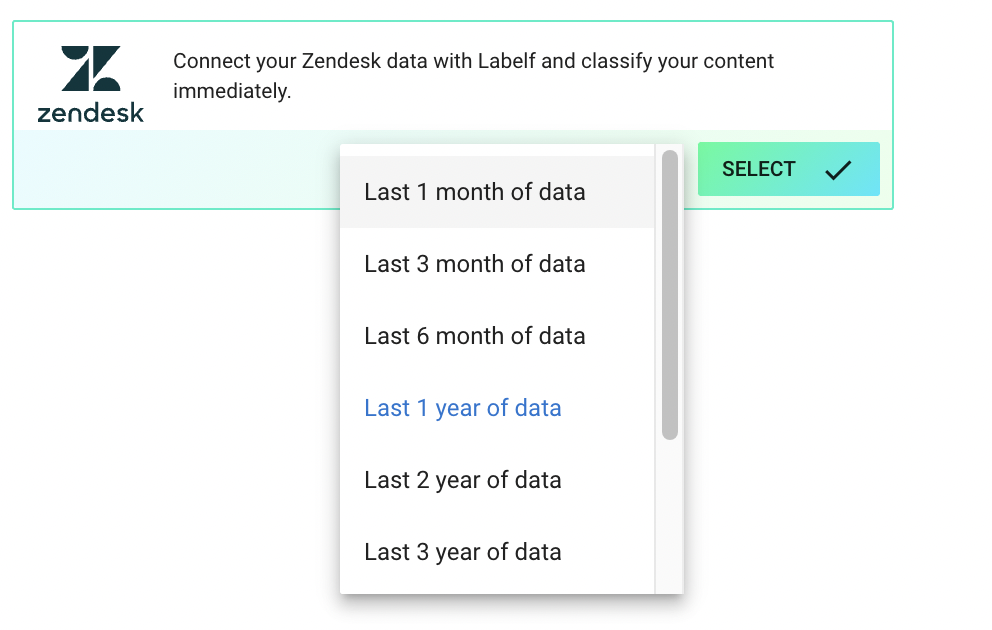
A key strength of the Labelf AI Ticket Tagger app is that it can utilize the tickets that you already have in Zendesk. Thereby you can create an entirely customized AI model that is fine-tuned to tag your tickets. To get started with our model building we will connect our existing tickets as a data source for the model. When connecting to the Zendesk data you get the choice of which timeframe to use. This is useful as you may only want to build a model based on recent tickets.

Step 3 - Set up and train the model.
To train the model we set up a new model and choose the Zendesk tickets as data source. Since our Zendesk tickets are not labeled we will need to create new data labels for this model. Since we are looking for sales leads it will be enough to create two labels, “Sales Lead” and “Not Sales Lead”. After having set up the labels it is time to train the model. We do this by labeling data points for the model with the two labels.

After around 400 labeled examples the model has become very accurate as we can see on the metrics page. We are happy for now and move on to setting up the automatic ticket tagging using the models we have set up.
Step 3 - Deploy the model
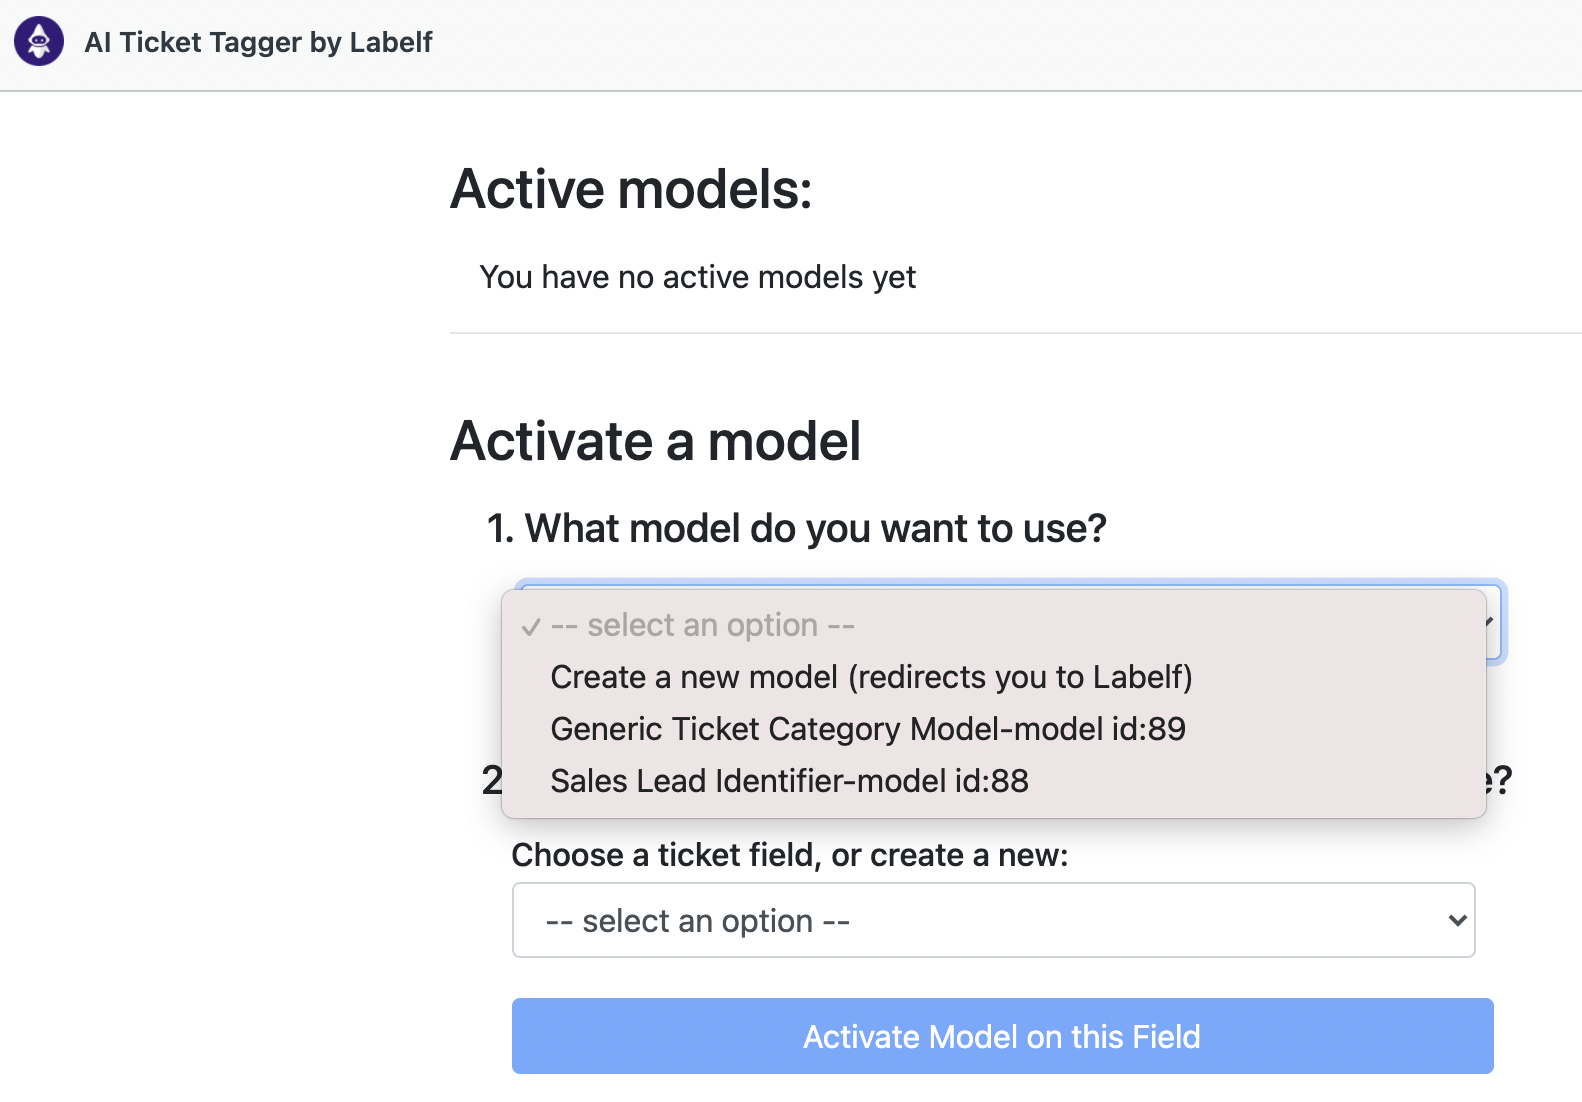
Now we head back to Zendesk and activate the two models. When we activate the models we get to choose the ticket fields we want the model to populate values for. We can create a new ticket field called “Sales Lead Status”

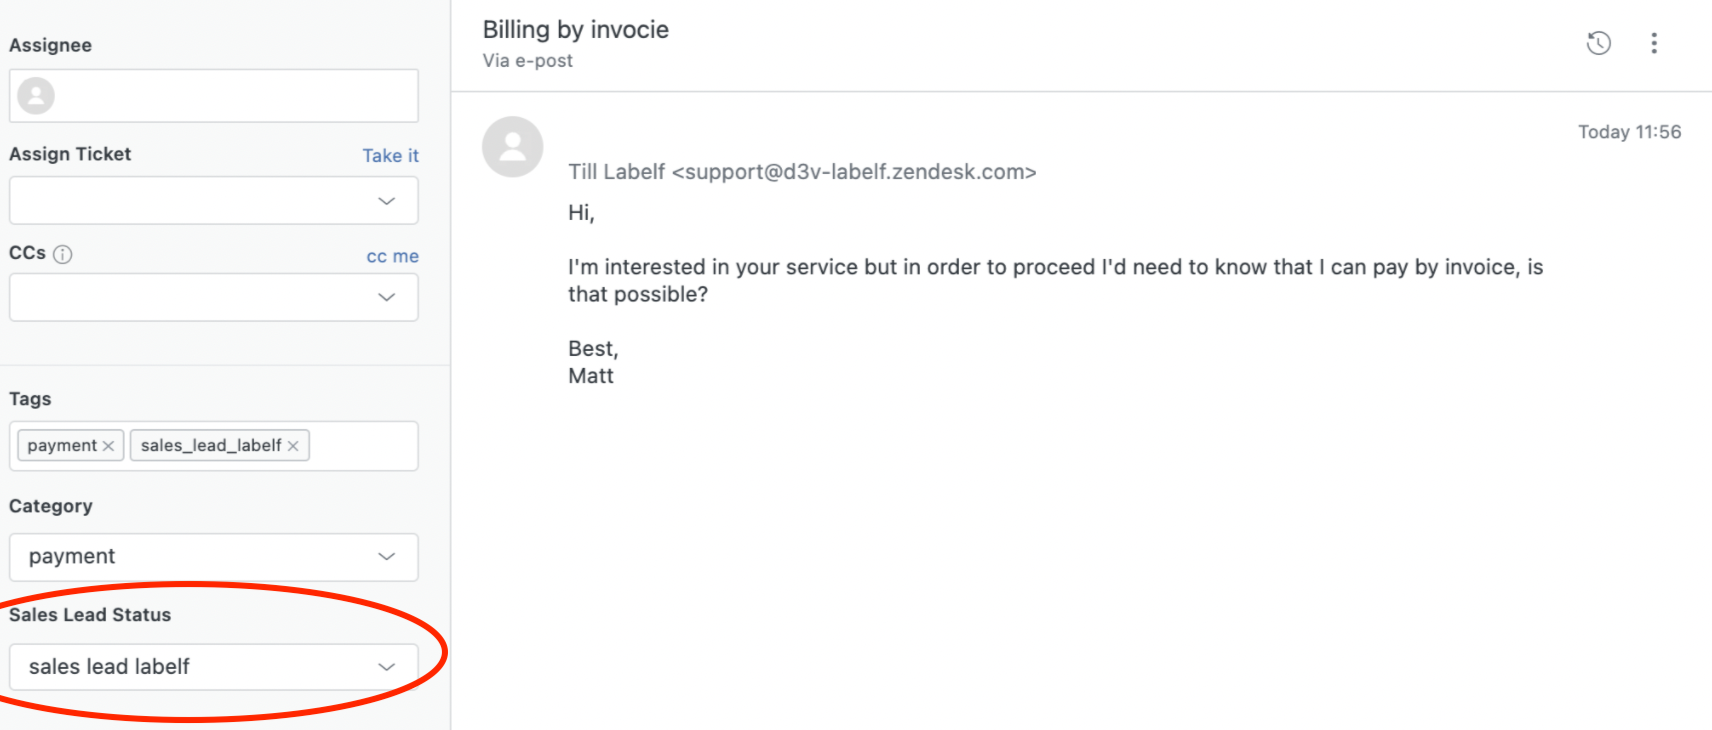
Below we see how the models is working live in Zendesk and accurately categorizing the ticket below as being payment related and also a sales lead.

In conclusion
In this post we have taken the journey from business data (Support Tickets) to a fully implemented custom AI model that is already classifying tickets in Zendesk. The steps laid out here do not take more than an afternoon to go through. An important benefit of this swift implementation is that if your business needs change you can very quickly train a new model to add in addition to your existing models or replace a model that is no longer relevant. If you are interested in testing out the Labelf platform, you can request access at labelf.ai.


